Integrating TriNet with Compt (Company Administrators)
Setting up the TriNet + Compt API Integration
Once you have determined that you would like to set up the TriNet Integration, reach out to your Customer Success Manager or support@compt.io to enable the TriNet Integration feature for your company. After the feature has been added by the Compt Customer Success team, follow the below steps:
Step 1: Accessing your Client ID, Secret, and Company ID
- Sign in to TriNet
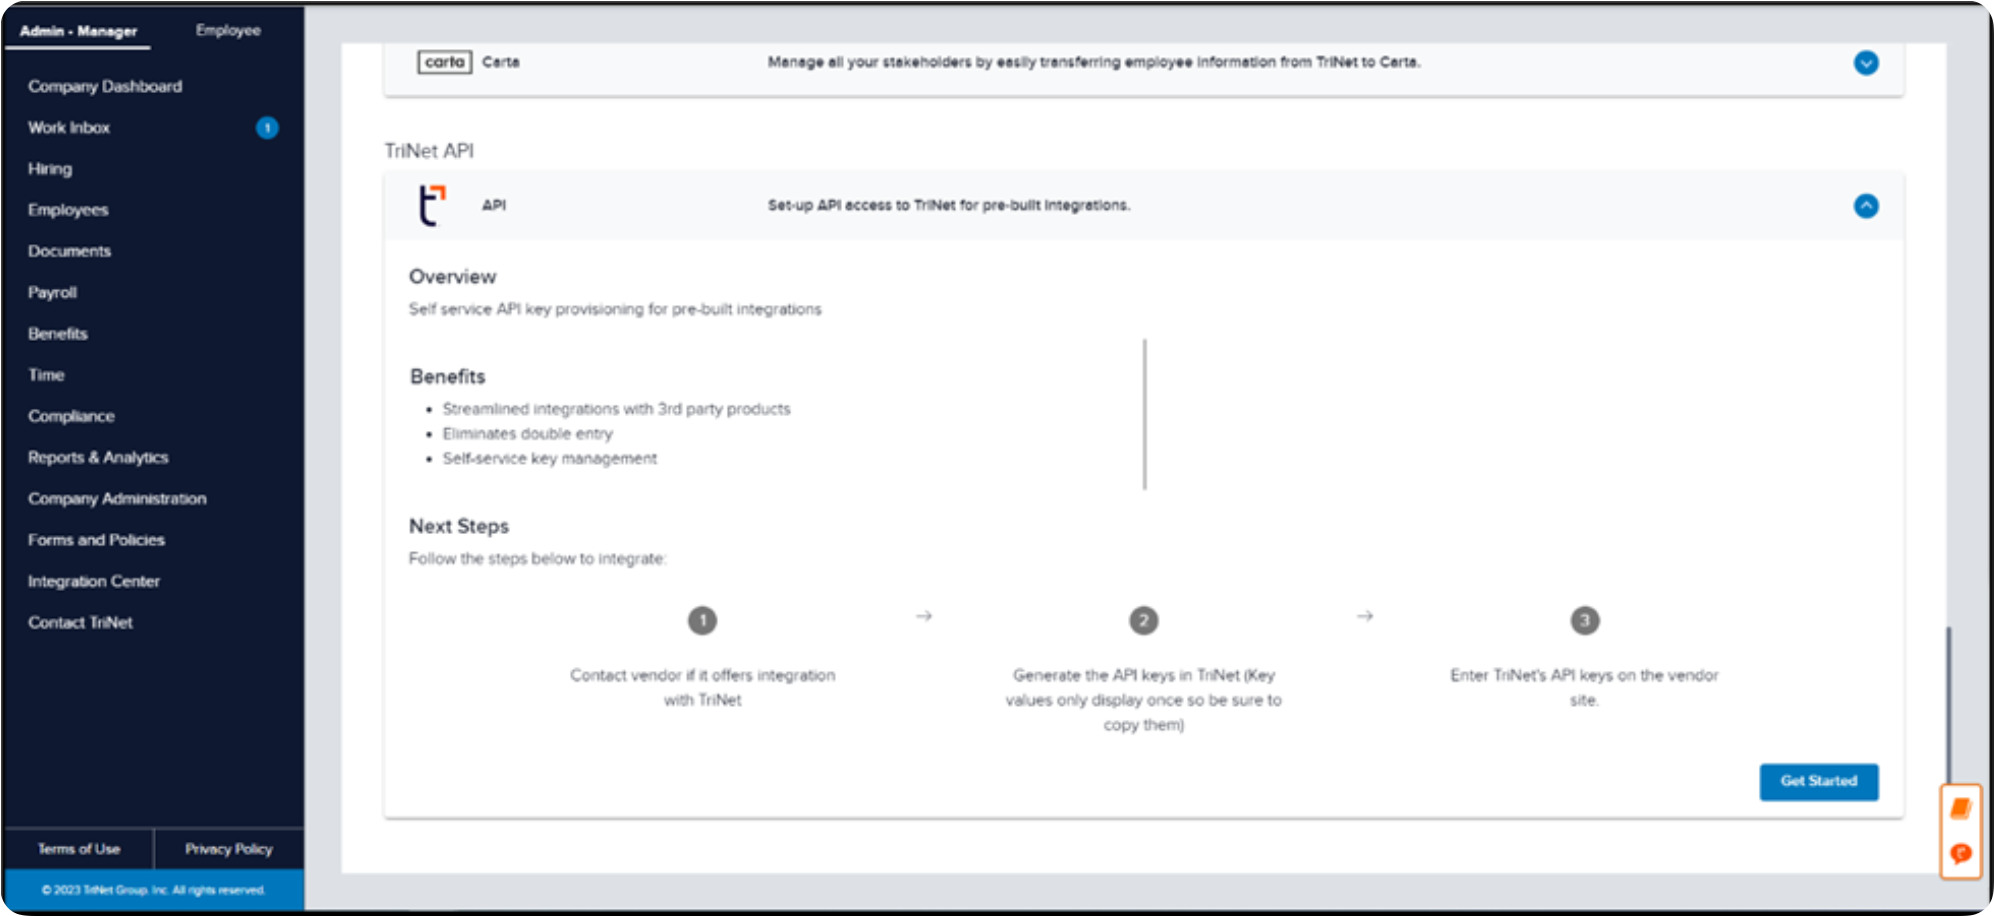
- Follow the navigation path to access the TriNet Integration Center: Admin•Manager > Integration Center
- Click Get Started from the TriNet API section of Available Apps.
-
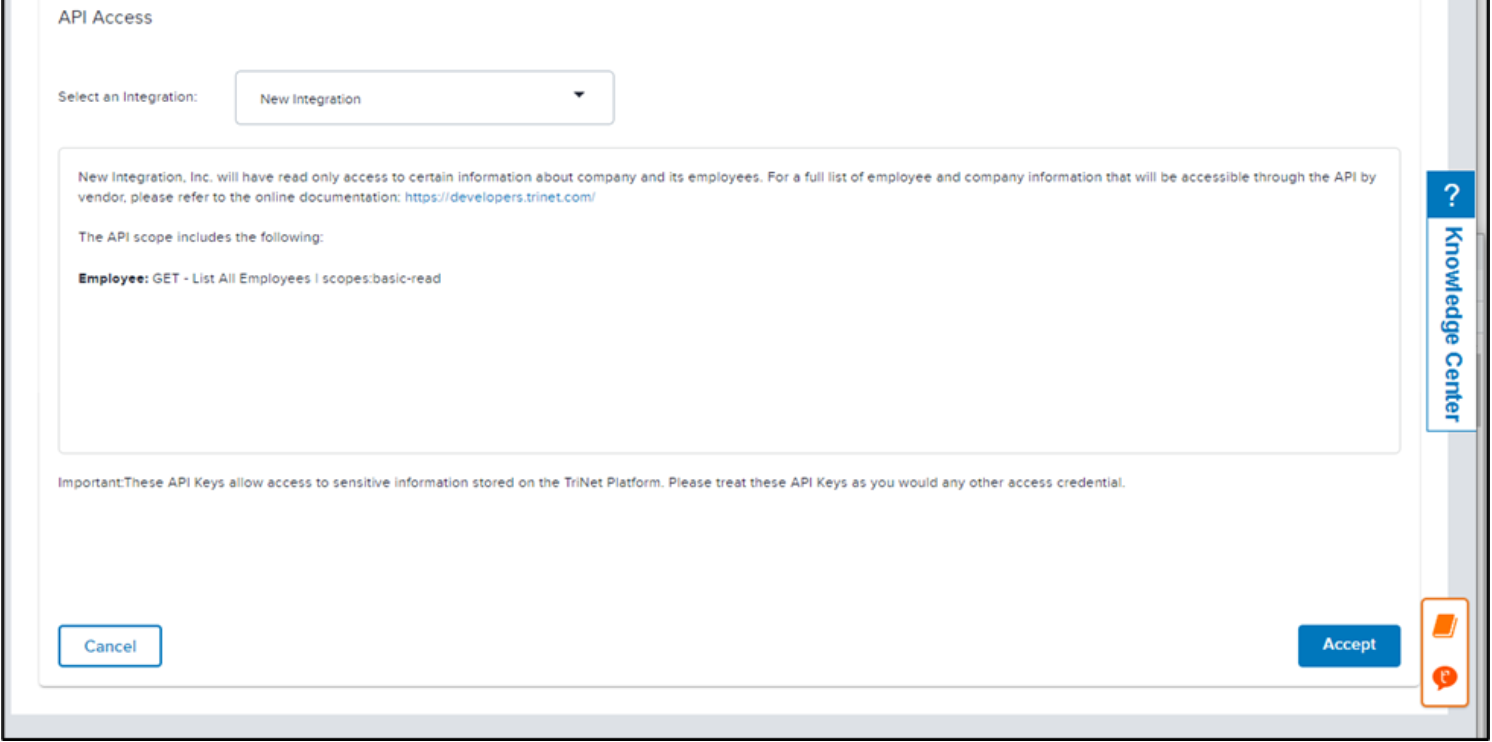
Select the applicable integration name from the Select an Integration drop-down list
If you don't see the company you are attempting to integrate with listed in the dropdown, please contact your account manager.
-
Click Accept
-
Copy the Company ID, Client ID and Client Secret
Do not navigate from this screen until the credentials are entered in the linking flow or securely saved in a local location, as they cannot be accessed again
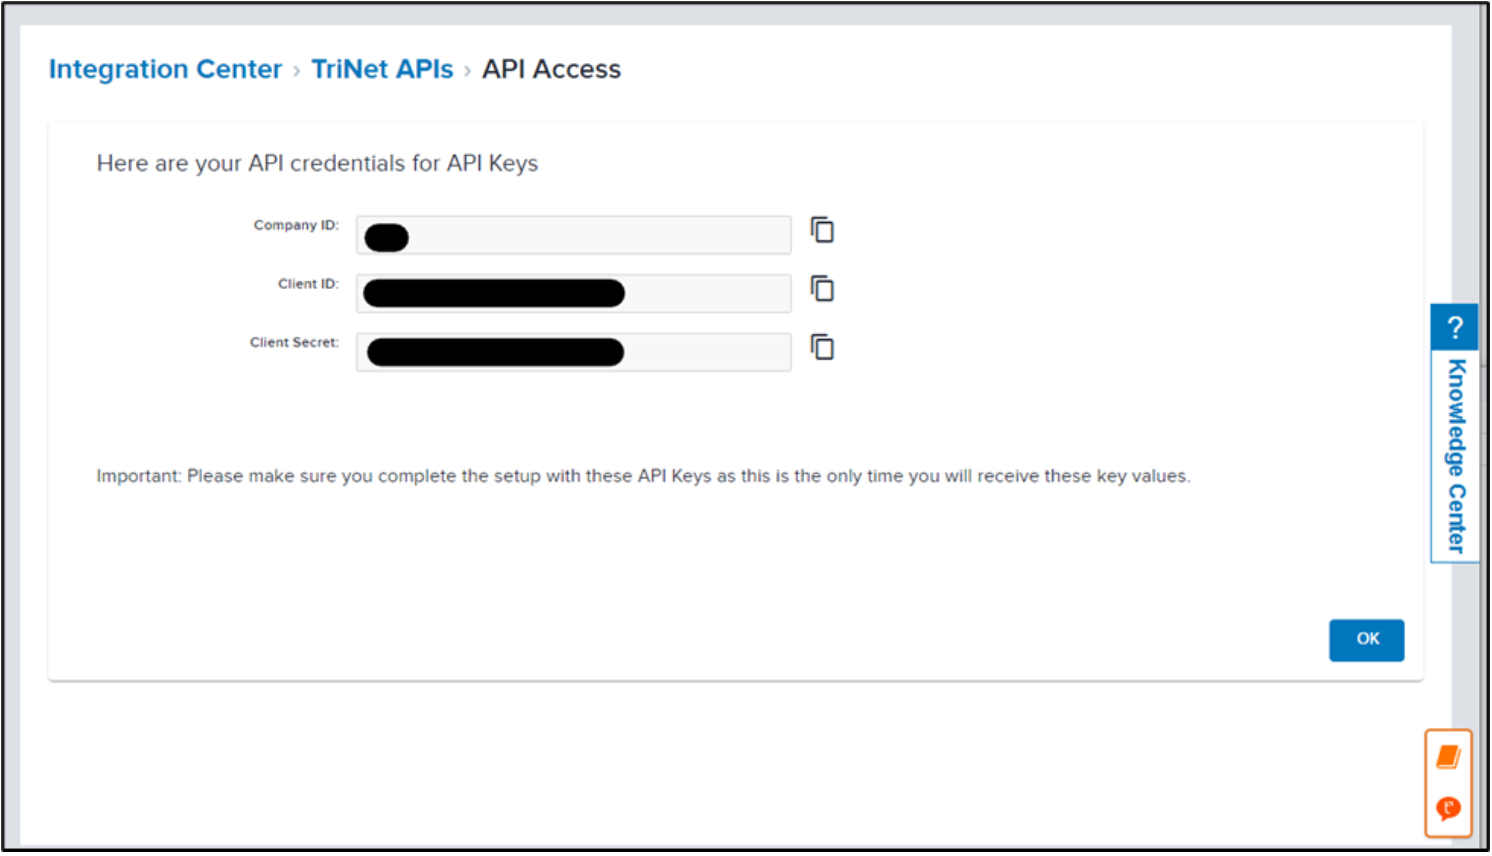
- Click OK
Step 2: Enter the Client ID, Secret and Company ID in Compt
- Log in to Compt, click on Stipend Admin → Company Settings, and scroll down to Employee Sync Integration. Then click on Set up integration.

- Select TriNet from the list of providers

- Confirm that you are an Admin for Namely and follow the prompts.
- Then, enter your TriNet API Key and click Next.

- Then, enter your Client ID, Secret, and Company ID

Please note: When mapping fields, make sure any groups synced from your HRIS that determine stipend eligibility exactly match the group names in Compt—including case sensitivity and spacing. Mismatches can impact stipend funding. To avoid issues, connect with your CSM or support@compt.io before finalizing your field mapping.
Step 3: Confirm the sync
Once the information has been entered, you will see an option in Compt to trigger the employee sync.
It can take up to 30 minutes for the sync to be complete so make sure to check back that all of the information has been successfully transferred.